
I’m starting a series of tutorials to learn the different blockchain frameworks as I’m learning them myself. The goal is to document my journey and summarize it so people can do the same from writing smart contracts to deploying them on the blockchain. The tutorial of today is about compiling and running a basic “hello world” with Plutus (the smart contract platform of Cardano). The Plutus framework is based on Haskell, a general-purpose, statically-typed, purely functional programming language with type inference and lazy evaluation. The language is not the simplest but by taking it step by step with a hands-on approach will make things painless. Let’s start this first Plutus Tutorial.
1. Go to the “Plutus Playground”
The best place to start is the Plutus Playground (it won’t work on mobile, desktop only).
If you click on “Hello, world” you’ll see a contract template:

The language used is Haskell.
If you want to learn more about Haskell, I suggest the following books:
Or you can also do some tutorials online:
Don’t worry, it’s going to be OK.

2. Analyze the contract code
Imports are necessary to use libraries:
import Data.Text qualified as T
import Playground.Contract
import Plutus.Contract
import PlutusTx.Prelude
import Prelude qualified as Haskell
The first import (Data.Text) is for text IO to be able to display/read text: see package details.
The others are linked to the Plutus library to write smart contracts.
Then, we create an instance of contract logging “hello world”:
-- | A 'Contract' that logs a message.
hello :: Contract () EmptySchema T.Text ()
hello = logInfo @Haskell.String "Hello, world"
Finally, we define a schema and run it:
type DummySchema = Endpoint "dummy" ()
mkSchemaDefinitions ''DummySchema
$(mkKnownCurrencies [])
The important part in all of the above is really the Contract() call using Plutus contract object.
You can learn more about it here.
It contains a list of methods to interact and shape the contract that you want to run.
3. Run the contract
How about running it?
Click “compile” in the top right and then “simulate”:
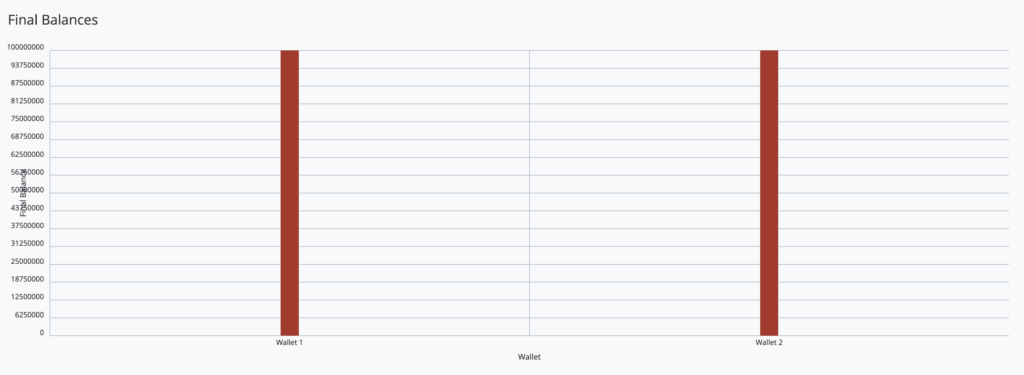
Once done, the last step to run the contract is to click on “evaluate”:

Two test wallets are there, with an unchanged balance after the run:

And the logs are displaying “Hello World”, which is what we wanted:

4. Next step?
The next step is to deploy our “hello world” contract on the testnet and see it running in realtime.
The steps are described here.
It will be the topic of the next article.
A spoiler: we will run cabal locally using the CLI tool.
cabal update
cabal run plutus-helloworld
That will output some logs in the console:
ExBudget {_exBudgetCPU = ExCPU 2443000, _exBudgetMemory = ExMemory 370}We will see how to check the wallets balances and verify that our “Hello World” message is logged.
5. Conclusion
I’ve started the above yesterday and got surprised by the level of integration of the Plutus Playground. My next goal is to be able to deploy the contract to the testnet and document it properly so it’s clear for someone with no Haskell experience and no smart contract experience either. I’ve also bought some Haskell books to understand better how the language works. I’m coming from Python and this is far more typed than what I’m used to. The functional programming paradigms are also very interesting to me but not remotely close to what I can see in Python. Exciting times! See you in the next tutorial.
Thanks for reading.
n.b: this is not financial advice
